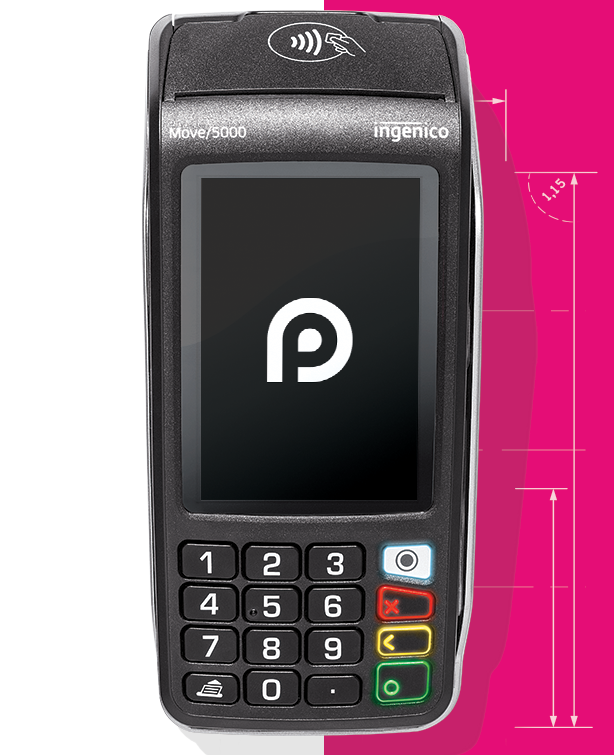
Configuring Payment Sense in Floral Frog
- In Floral Frog, navigate to “ACCOUNTS” > “Settings” > “Payment Providers”
- In the Payment Sense box you need to enter a “Host Address” and “API Key”. These will be provided to you by Payment Sense.
- You then need to perform a TMS Call to update the terminal by pressing “MENU” twice, then “F3 SUPERVISOR” then “ENTER PASSWORD” “123456” or “01483” then “MENU” and finally “CALL TMS“.
- Any issues with integration then please call Payment Sense on 0800 103 2959

- The second part of the integration is performed in FrogPOS on the iPad. Log into FrogPOS and click on the “Settings” button as shown below.

- Slide the Payment Sense button to “On” and a drop-down menu will appear to the right. Select your Payment Sense terminal and click “Close”
Note: there will be only one entry to select, unless you have multiple PDQ’s in your shop

Performing a Refund using Payment Sense
Note: Only full refunds can be performed with Payment Sense at this current time. Part refunds will be a future add-on.
- Login to FrogPOS and click the “Refund” button
- Select “Payment Sense” as the refund payment type
- It will then ask you to enter the sales order ID. This is the sales ID on the mPOP receipt as shown below and highlighted in yellow
- You are then asked to confirm the terminal – click “OK”
- The PDQ will then light up and ask you to enter the customers card. If the customer is not present, then press the “Menu” button on the PDQ to enter card details manually.
- Follow the on-screen details on the PDQ and FrogPOS to complete refund process.

